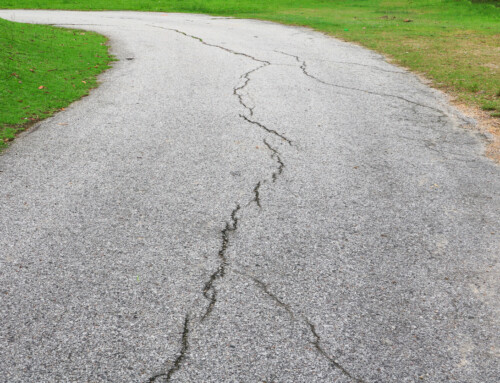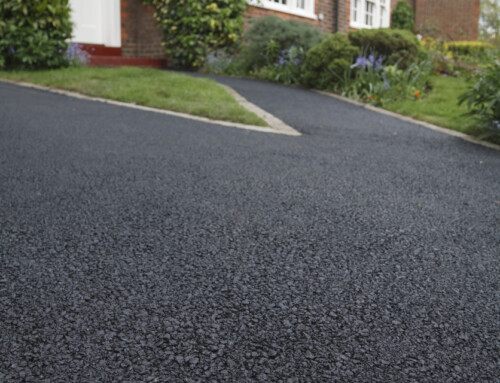
Asphalt is known to be one of the most durable materials to build roadways, parking lots, and driveways. However, even the strongest material requires regular maintenance and attention to stay in the best condition. Without proper maintenance, asphalt driveways can develop cracks, holes, and dips or depressions. Most small dips can be easily corrected by a DIYer over a weekend, as long as they follow instructions and don’t take shortcuts. In this post, we’ll walk you through how to repair dips in an asphalt driveway or parking surfaces, ensuring that these signs of normal wear and tear don’t adversely affect the value or appeal of your property.
Do I Really Need to Repair a Small Dip?
Yes! While that dip or depression may start out small, without proper correction, it will lead to bigger problems down the road. Water loves to pool in the dips in asphalt, leaving the already compromised spot vulnerable to water penetration. Water penetration is a silver bullet in the heart of any asphalt surface, damaging the layers beneath the surface and often requiring a full asphalt replacement to correct. Standing water can also cause hazards in colder temperatures, as the water can freeze and create an area perfect for slips and falls. Fix that small dip now to save yourself a lot of headaches and expenses in the future.
Tools and Materials You’ll Need
Before you begin fixing the small dips in your asphalt driveway, gather these necessary tools and materials:
- Cold-mix asphalt patching compound
- Hand tamper or mechanical compactor
- Shovel or trowel
- Broom or leaf blower
- Wire brush
- Garden hose or pressure washer
- Plywood or plastic sheet
Now that you have the tools and material you’ll need, wait for a warm, sunny day to attempt the repair. Somewhere between 10-27°C (50-80°F) is ideal. Extreme temperatures will hinder the asphalt curing process, leaving your repair weak and subject to failure.
Step-by-Step Guide to Repairing Dips in Your Asphalt Driveway
Step 1: Clean the Affected Area
Your repair should begin with a clean surface, so start out by sweeping or blowing away any dirt, debris, and loose asphalt from the dip and the surrounding area. If you have stubborn, caked on dirt or oil stains, you may have to scrub or pressure wash the area to really get it clean. The patching compound will not stick properly if the area is not completely clean, so take care to do this step thoroughly.
Step 2: Apply Cold-Mix Asphalt Patch
Now that the area is clean, it’s time to apply the patching compound. We recommend using a cold-mix patching product, and there are many on the market you can choose from. Add a one-inch layer to the bottom of the dip, using a trowel to spread it evenly over the dip.
Step 3: Compact the Patch
Once the first layer is applied, use a hand tamper or other compacting method (like placing plywood over the patch and parking a car on top) to pack the compound down as tightly as possible. This gets rid of any air pockets and ensures that the patching compound can adhere strongly to the existing asphalt surface.
Step 4: Add Additional Layers & Compact Again
Most asphalt dips will require at least a few layers of patching compound to be fully repaired. If one layer doesn’t leave you with a slightly elevated surface (it will settle down level with the driveway surface as it cures), add more layers, one inch at a time, tamping each layer down vigorously before adding the next layer.
Step 5: Let the Patch Cure
After you’ve added enough layers to reach a level just slightly higher than the driveway surface, it’s time to cure the patch. Most patching compounds require 24-48 hours to fully cure, but you should always follow the manufacturer’s instructions on how long to wait. While the patch is curing, do not drive or walk on or around the patched area.
Preventative Maintenance Tips
Now that you have a nice, level, dip-free driveway, it’s time to think about preventative maintenance. Preventative maintenance is essential for keeping your driveway in the best condition possible. A proper preventative maintenance plan should include, at the minimum, the following steps:
- Regular inspections: Check your driveway for signs of damage such as dips, cracks, or potholes at least once a month. We also recommend having a professional asphalt contractor come out once per year to do a full inspection and repair any minor issues (if you’re not a DIYer).
- Sealcoating: Applying a sealcoat every 2-5 years helps protect the asphalt from water, UV rays, and wear and tear. Sealcoating also gives the driveway a fresh, new appearance.
- Resurfacing: Every 10-15 years, consider resurfacing your driveway to address any underlying issues and extend its lifespan.
When to Call in the Professionals
If your small, minor dip has spread into something deeper and larger, going the DIY route won’t be the best choice. Larger dips, cracks, and holes need professional repair to maintain the integrity of the driveway asphalt. So how large is too large for DIY repair? If your driveway has multiple dips, dips deeper than about 8-10 cm (3-4 in), or cracks wider than 1.2 cm (½ in), it’s time to call in the professionals to handle the repair. If you’re in the southwest Vancouver metro area, TopWest Asphalt Ltd. of Abbotsford has the tools and expertise to take care of everything from minor issues to major damage. Contact TopWest at 604-755-0300 or send us a message online to schedule your free estimate today, and rest easy knowing that your asphalt driveway will be in the best hands in BC.


